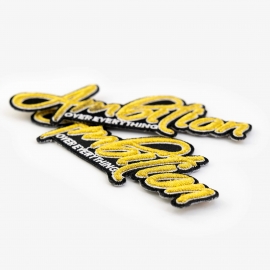
Don't know how to apply heat transfer labels to clothes after buying them? Don't worry , we will help you!
Before you go on the process, please make sure that your clothes are suitable for heat transfer labels.
Those are can be applied:100% cotton, most 100% polyester, cotton/poly blends, canvas, spandex, knit rayon, neoprene, nylon
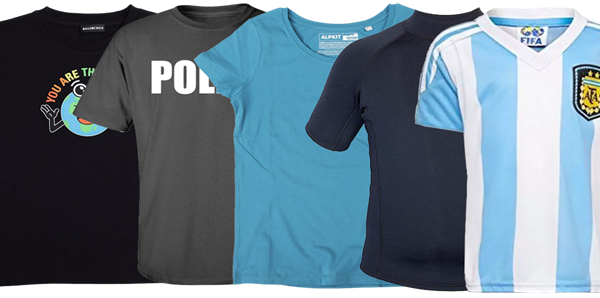
Those are not suitable :leather clothes, mesh clothes,sweather, down coat, any cloth that surface contain silicon(Si).

Here is the instructions for how to apply heat transfer labels.
If you need other heat transfers like reflective, 3D silicone, glitter, PU , flocking transfers please click the words to enter the corresponding description page.

INSTRUCTION FOR APPLYING HEAT TRANSFER LABELS
1. et iron or heat press to 284-320ºF (140-160ºC). Higher temperatures can melt vellum backing. If using a household iron, set the dial between the cotton and wool setting with NO STEAM.
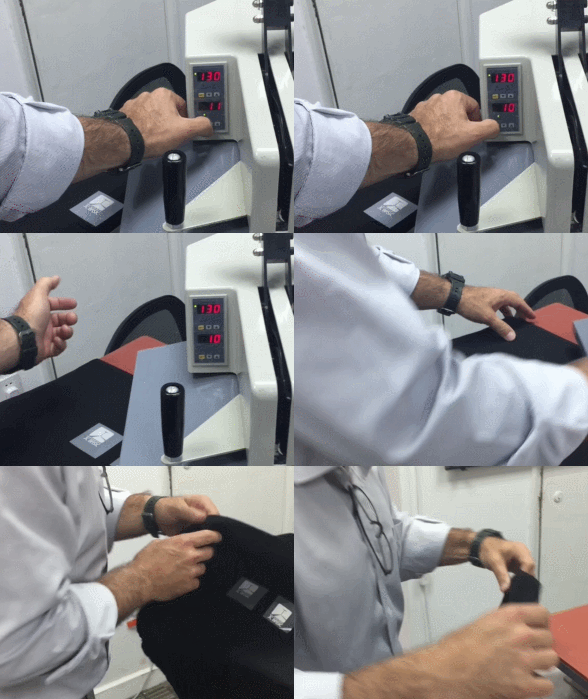
2. Place heat transfer with the adhesive side down onto your garment or item. If the adhesive is exposed to the iron or press, the design will adhere onto the press and will be difficult to remove.

3. If using a heat press, press down for 10-12 seconds. If using a household iron, press FIRMLY, straight down avoiding sweeping motions,for 10-12 seconds.
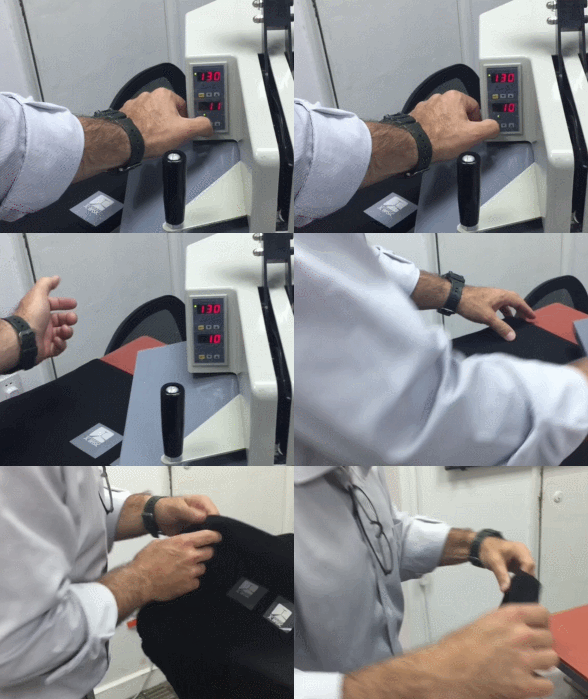
4. Please follow the instruction below that has been 'marked' specifically for your label.
cold peel: Wait until the transfer has been completely cooled. Then secure garment down and peel off vellum backing. Start at one corner and SWIFTLY remove the film.
hot peel: Secure garment down and immediately peel off vellum backing. Start at one corner and SWIFTLY remove the film. Do not peel slowly.
If you need any further help please contact our salesman.
Hope this article can be helpful.
 ⁄ USD
⁄ USD
